What Is The Laser Project?
In IDEA we were asked to create a design for the front and back covers of the notebook in Illustrator, and then move those designs into the laser machine where we would engrave, and cut them about (the finished result is pictured below).

The Final Result
|

The Final Result
|

The Final Result
|
How To Get There:
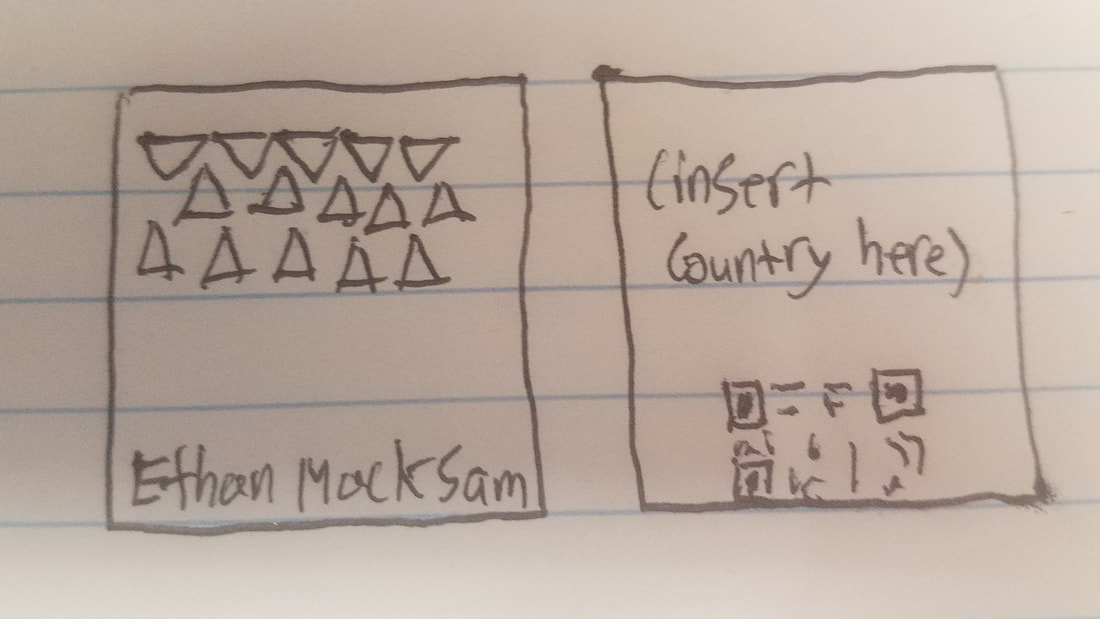
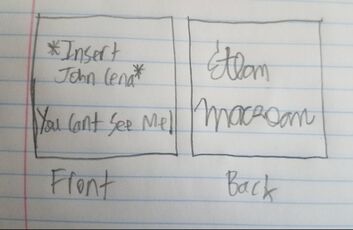
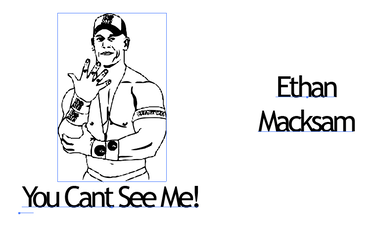
Precursor: Pre-Design Sketches Of What You Want In Your Notebook
|
|
|
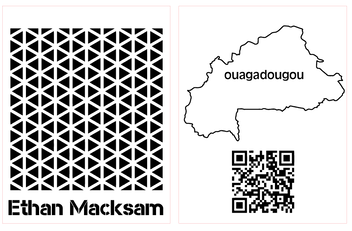
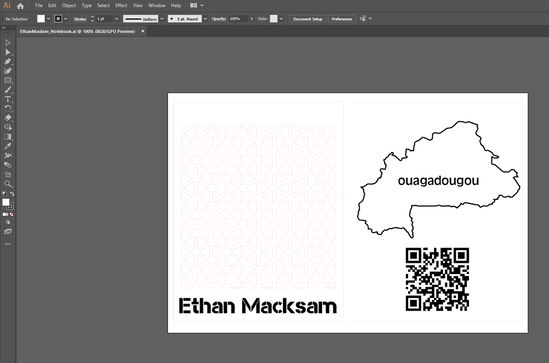
Step One: Make A Design In Illustrator
|
|
|
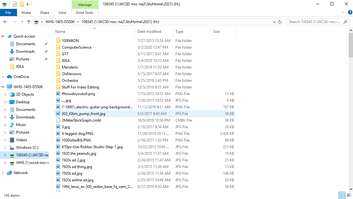
Step Two: Upload Design To A Portable Media Device (I.E. USB Stick, SD Card etc.)
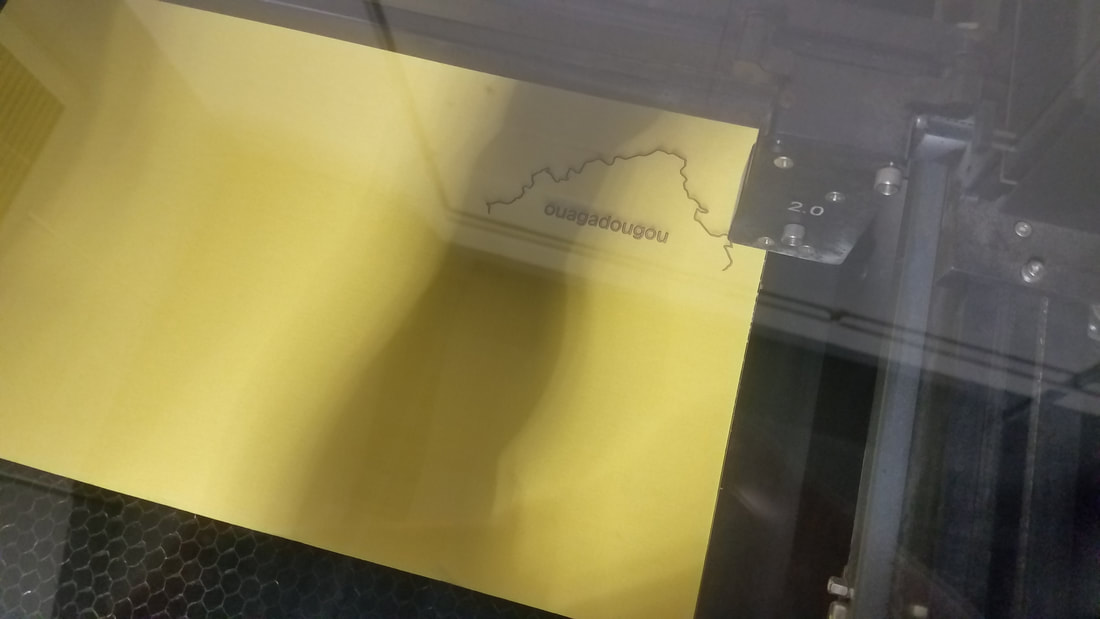
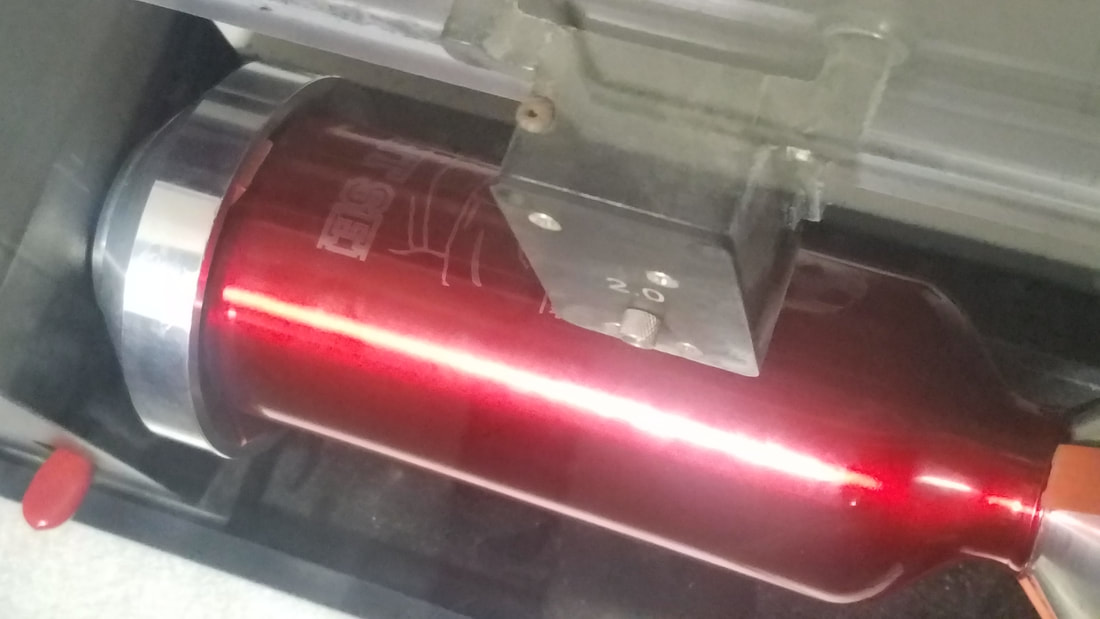
Step Three: Open It Up On The Laser Cutter Laptop, Open Up Illustrator, & Print To Laser Cutter
Step Four: Open The UCP App, Move The File To Where You Want It, And Click Print. It Will Automatically Start Printing It.
|

|
|
For The 3D Object: Assemble The Tardis!

If You Do It Right, And Don't Mess Up, Your Designs Should End Up Like This:
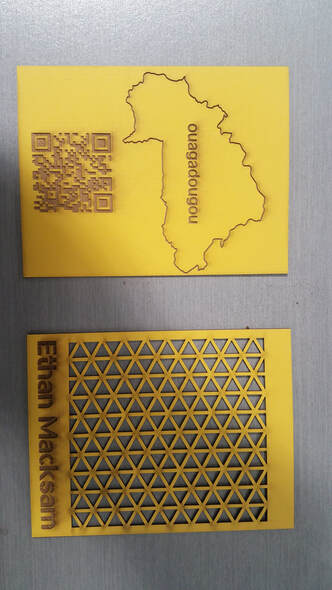
Finished Notebook
|

Finished Tardis
|
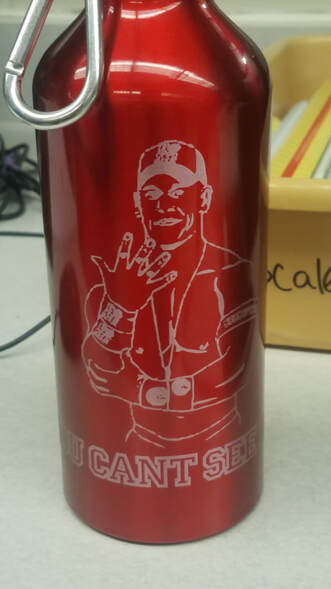
Finished Water Bottle
|
In Conclusion:
I learned how to use both Adobe Illustrator to make designs, and use the Laser-Cutter to make laser-cut items of the said designs according to the curriculum's choosing.
